V-ray is now available for Revit
The ArchiDesign studio has tested it and Fernanda A. BLANC, Project & BIM Manager, gives us a quick overview of how it works:
We can now assure you that it’s possible to create the design and render in a single software application – or almost! It all depends on the ability of the software to manage all the information and functionalities….
So far, the test has been done on a project of 500 m².
Here’s my opinion on the various functions of V-ray Revit.
PARAMETERS
If you’re familiar with the V-ray module in other software applications, the principle is essentially the same but adapted to the Revit interface and functions.
If you’re not familiar with V-ray, this article will enable you to understand the basic technical parameters for starting out with V-ray.
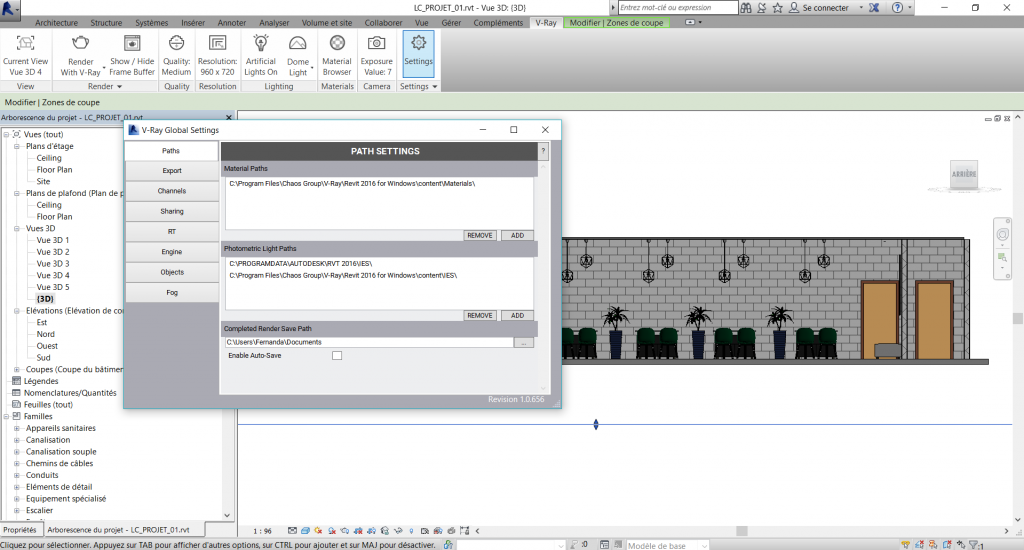
The default configuration is correct to start with, but it may be helpful to take a look at each tab.
CAMERA SETTINGS
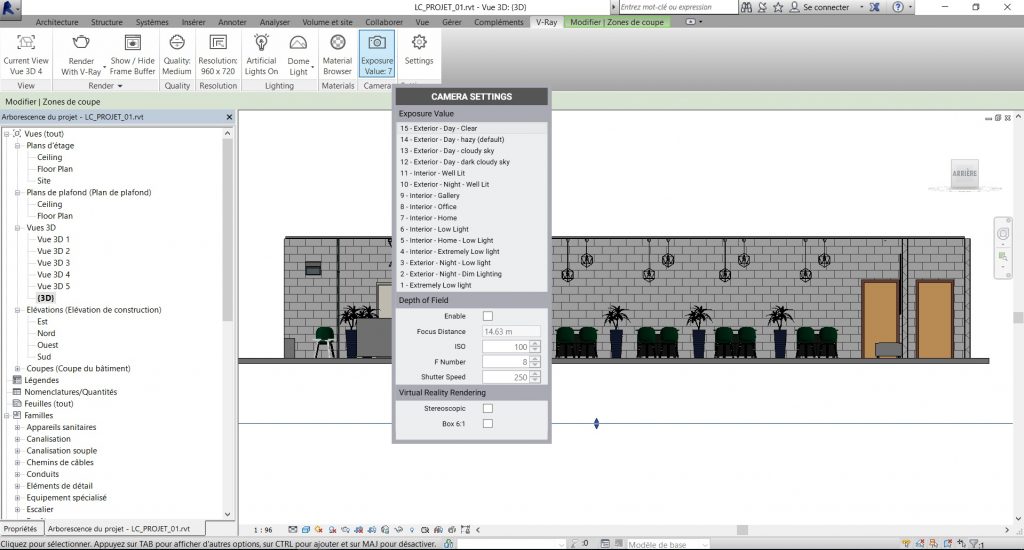
The camera parameters are very valuable functions. They allow you to define the behaviour of the camera in the scene. There are fifteen basic functions for the exterior and interior exposure parameters. Each one gives a different result depending on what you’re looking for in your render.
If you dabble a bit in photography you may enjoy configuring the camera manually. If not, don’t be afraid to experiment. It’s quite fun and you’ll quickly achieve a nice result.
MATERIALS MAP
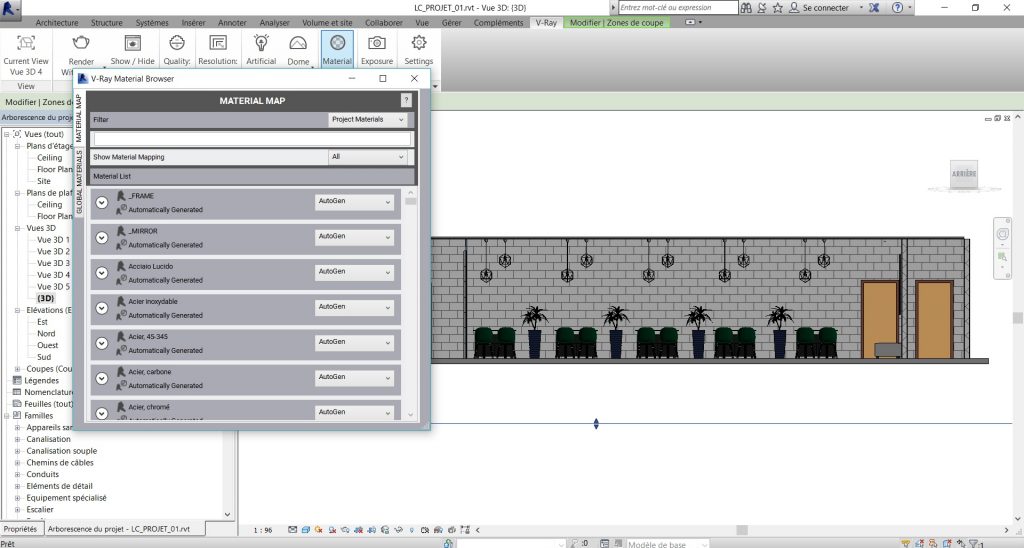
The materials map corresponds to the render plug-in. It recognises all materials used in your project. They are, of course, materials defined directly in Revit. You can also create and modify your own V-ray materials to improve final quality.
ATMOSPHERE LIGHT
This function allows you to define your render environment.
There are three basic functions that work with the Revit parameters. So you can define the real parameters or use only the basic parameters.
With regard to natural light, we chose the default option NO LIGHT to produce the effects of artificial lights.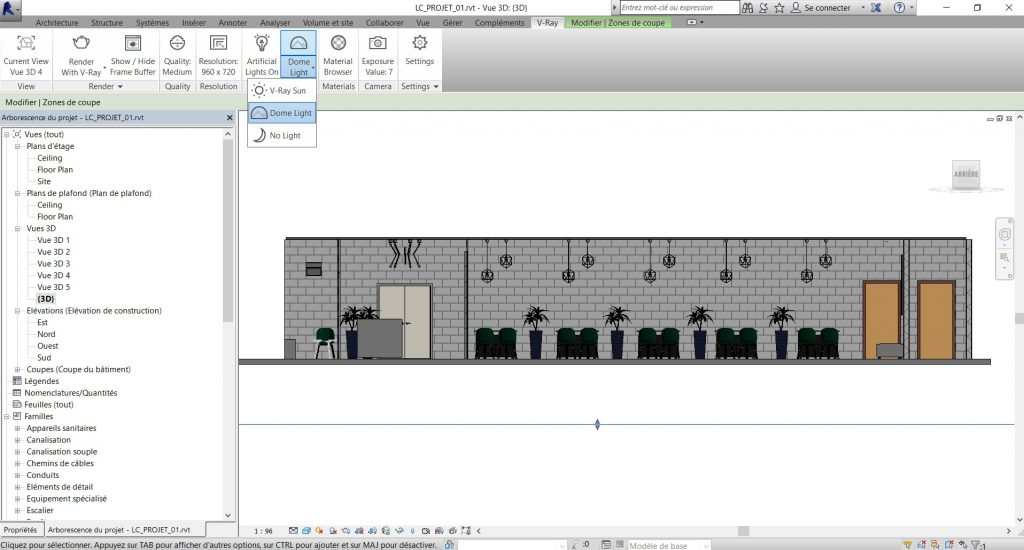
ARTIFICIAL LIGHT
This is an on/off function that allows you to work with the real properties of the lights in the scene. This enables us to define and use all real and native information of the properties of the Revit Light families.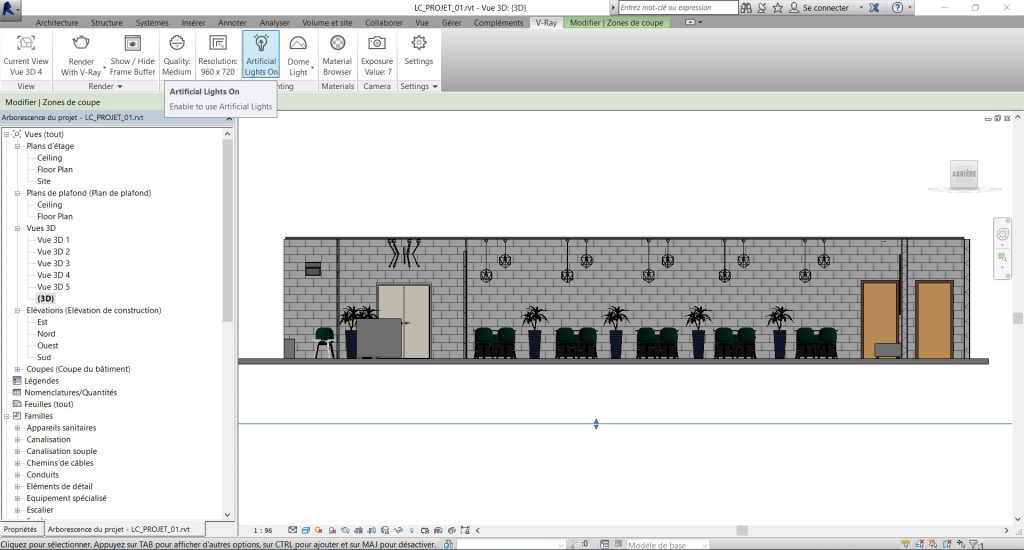
QUALITY AND SIZE
This tool allows you to configure the size and quality of the image render. In my view, this is where things started getting complicated.
The test was carried out on a project of 500 m², with a Core i7 GEFORCE computer. We spent a fair bit of time obtaining average quality, but in the end it worked. In high quality: impossible to finish loading. Numerous errors occurred and Revit shut down quite quickly.
We’re not saying this is necessarily the size of the project (quantity of information), the computer or both, but it’s still a negative finding in the hope that one day it will be possible to find a balance between BIM and “Visualisation Architecture” in a single software application without having to waste time or use super-powerful machines.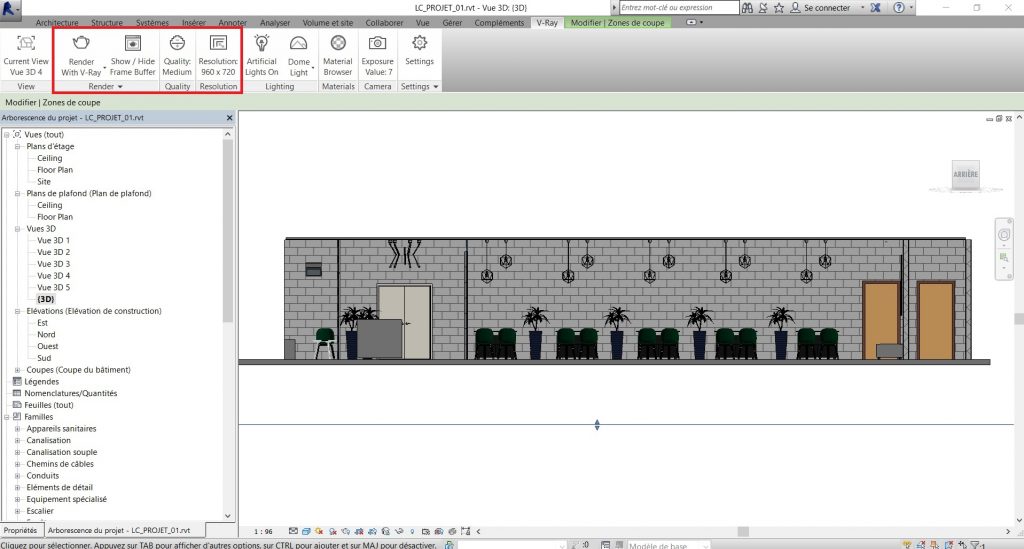
CURRENT VIEW AND RENDER PROCESS
This capture already exists in the beta version of V-ray for Revit:
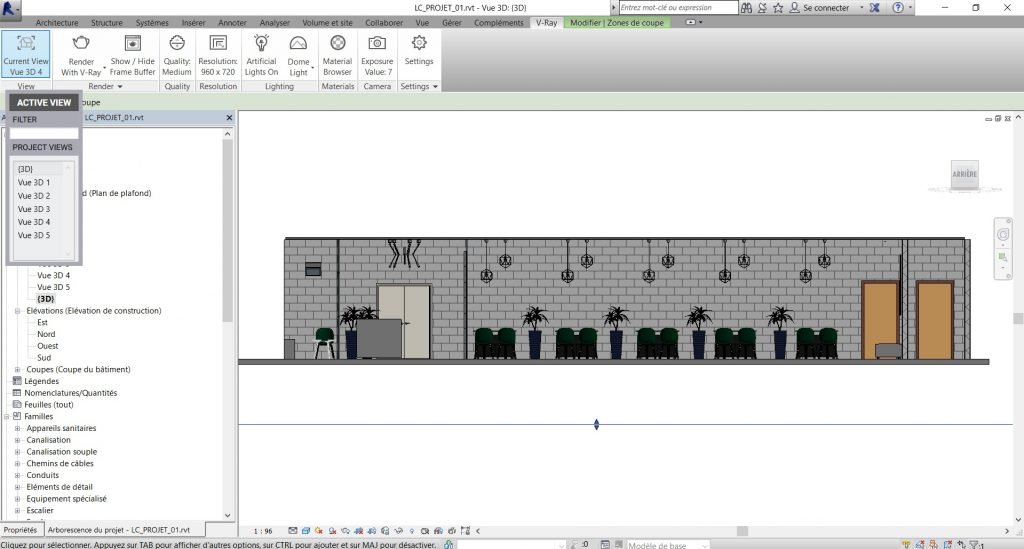
It’s not possible to render a view in perspective while it is activated.
The steps below should be followed:
1- Create your views in perspective and name them carefully.
2- Go to the V-ray add-in.
3- Open a 3D view.
4- Click on the current view of the V-ray plug-in and select the view you want to have rendered.
5- Click on “Render” to start the process. Your view in perspective will open in the render window, even if this view is in 3D.
We hope this will be solved one day.
IMAGE PRODUCTION
Great function. Imagine you’re at 2% of the render process and you’d like to modify your image saturation by making changes that will be automatically applied in the render process. If you’re not interested in that, you can simply deactivate it. It’s a considerable time-saver before composing.
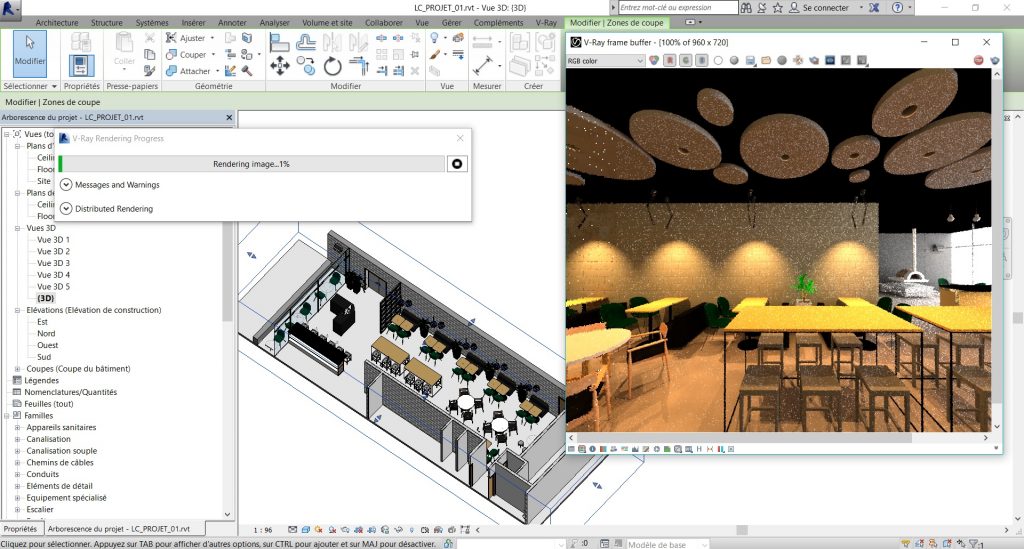
Render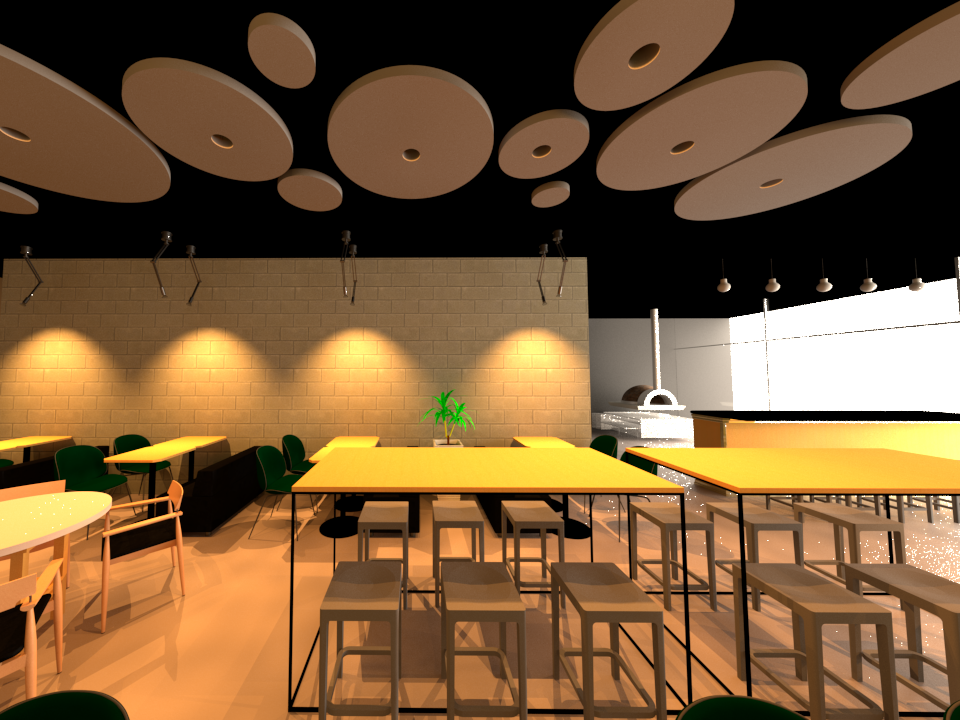
Project: Pizza Restaurant 500 m²
Quality: Method
Revit tools only (not image)
Exposure value: 7 – Interior – Home
Resolution: 960×720
Time: 23 min to render
